According to DB-Engines there are at least 423 database systems for us to choose from, 183 of them having a popularity index rating of 1 or greater. When it comes time for us to make a decision of what database we want to use for our next project or feature, it’s easy to step into decision paralysis trying to justify one database or provider over another. You like the features of provider A but the developer experience of provider B – what do you choose?
Outerbase is on a mission to democratize database features that providers often try to differentiate themselves on (e.g. authentication, row level security, data access). Today we are introducing what we are calling “Power Ups”.
What are Power Ups?
You can think of Power Ups as micro-services that extend your existing databases capabilities in almost any number of ways. Today we are announcing the following capabilities:
REST API – query your database tables with a HTTP RESTful API
Web Sockets – query your database through secure web sockets
And this is just the beginning of how these microservices can extend your databases functionality. Imagine being able to mask PII data from ever being returned from your database by stripping out those fields before returning to a client. Or perhaps having materialized views “on the edge” and maybe even populated with different results per region. Better yet, what if you could provide an Allowlist of queries that can be executed on your database and return results with application-layer Row Level Security for databases that don’t support RLS by default? Query caching. User authentication. So many possibilities!
Today’s launch we are announcing that you can attach any database currently supported in Outerbase to our platform and enable “Power Ups”. Our power ups are powered by StarbaseDB, our open-source and one of a kind companion database that works alongside your database to make it more powerful. It can even be used as a standalone SQLite database itself!
These globally distributed, low-latency, on the edge microservices that sit between your client and alongside your database are available today for everyone to try!
REST API
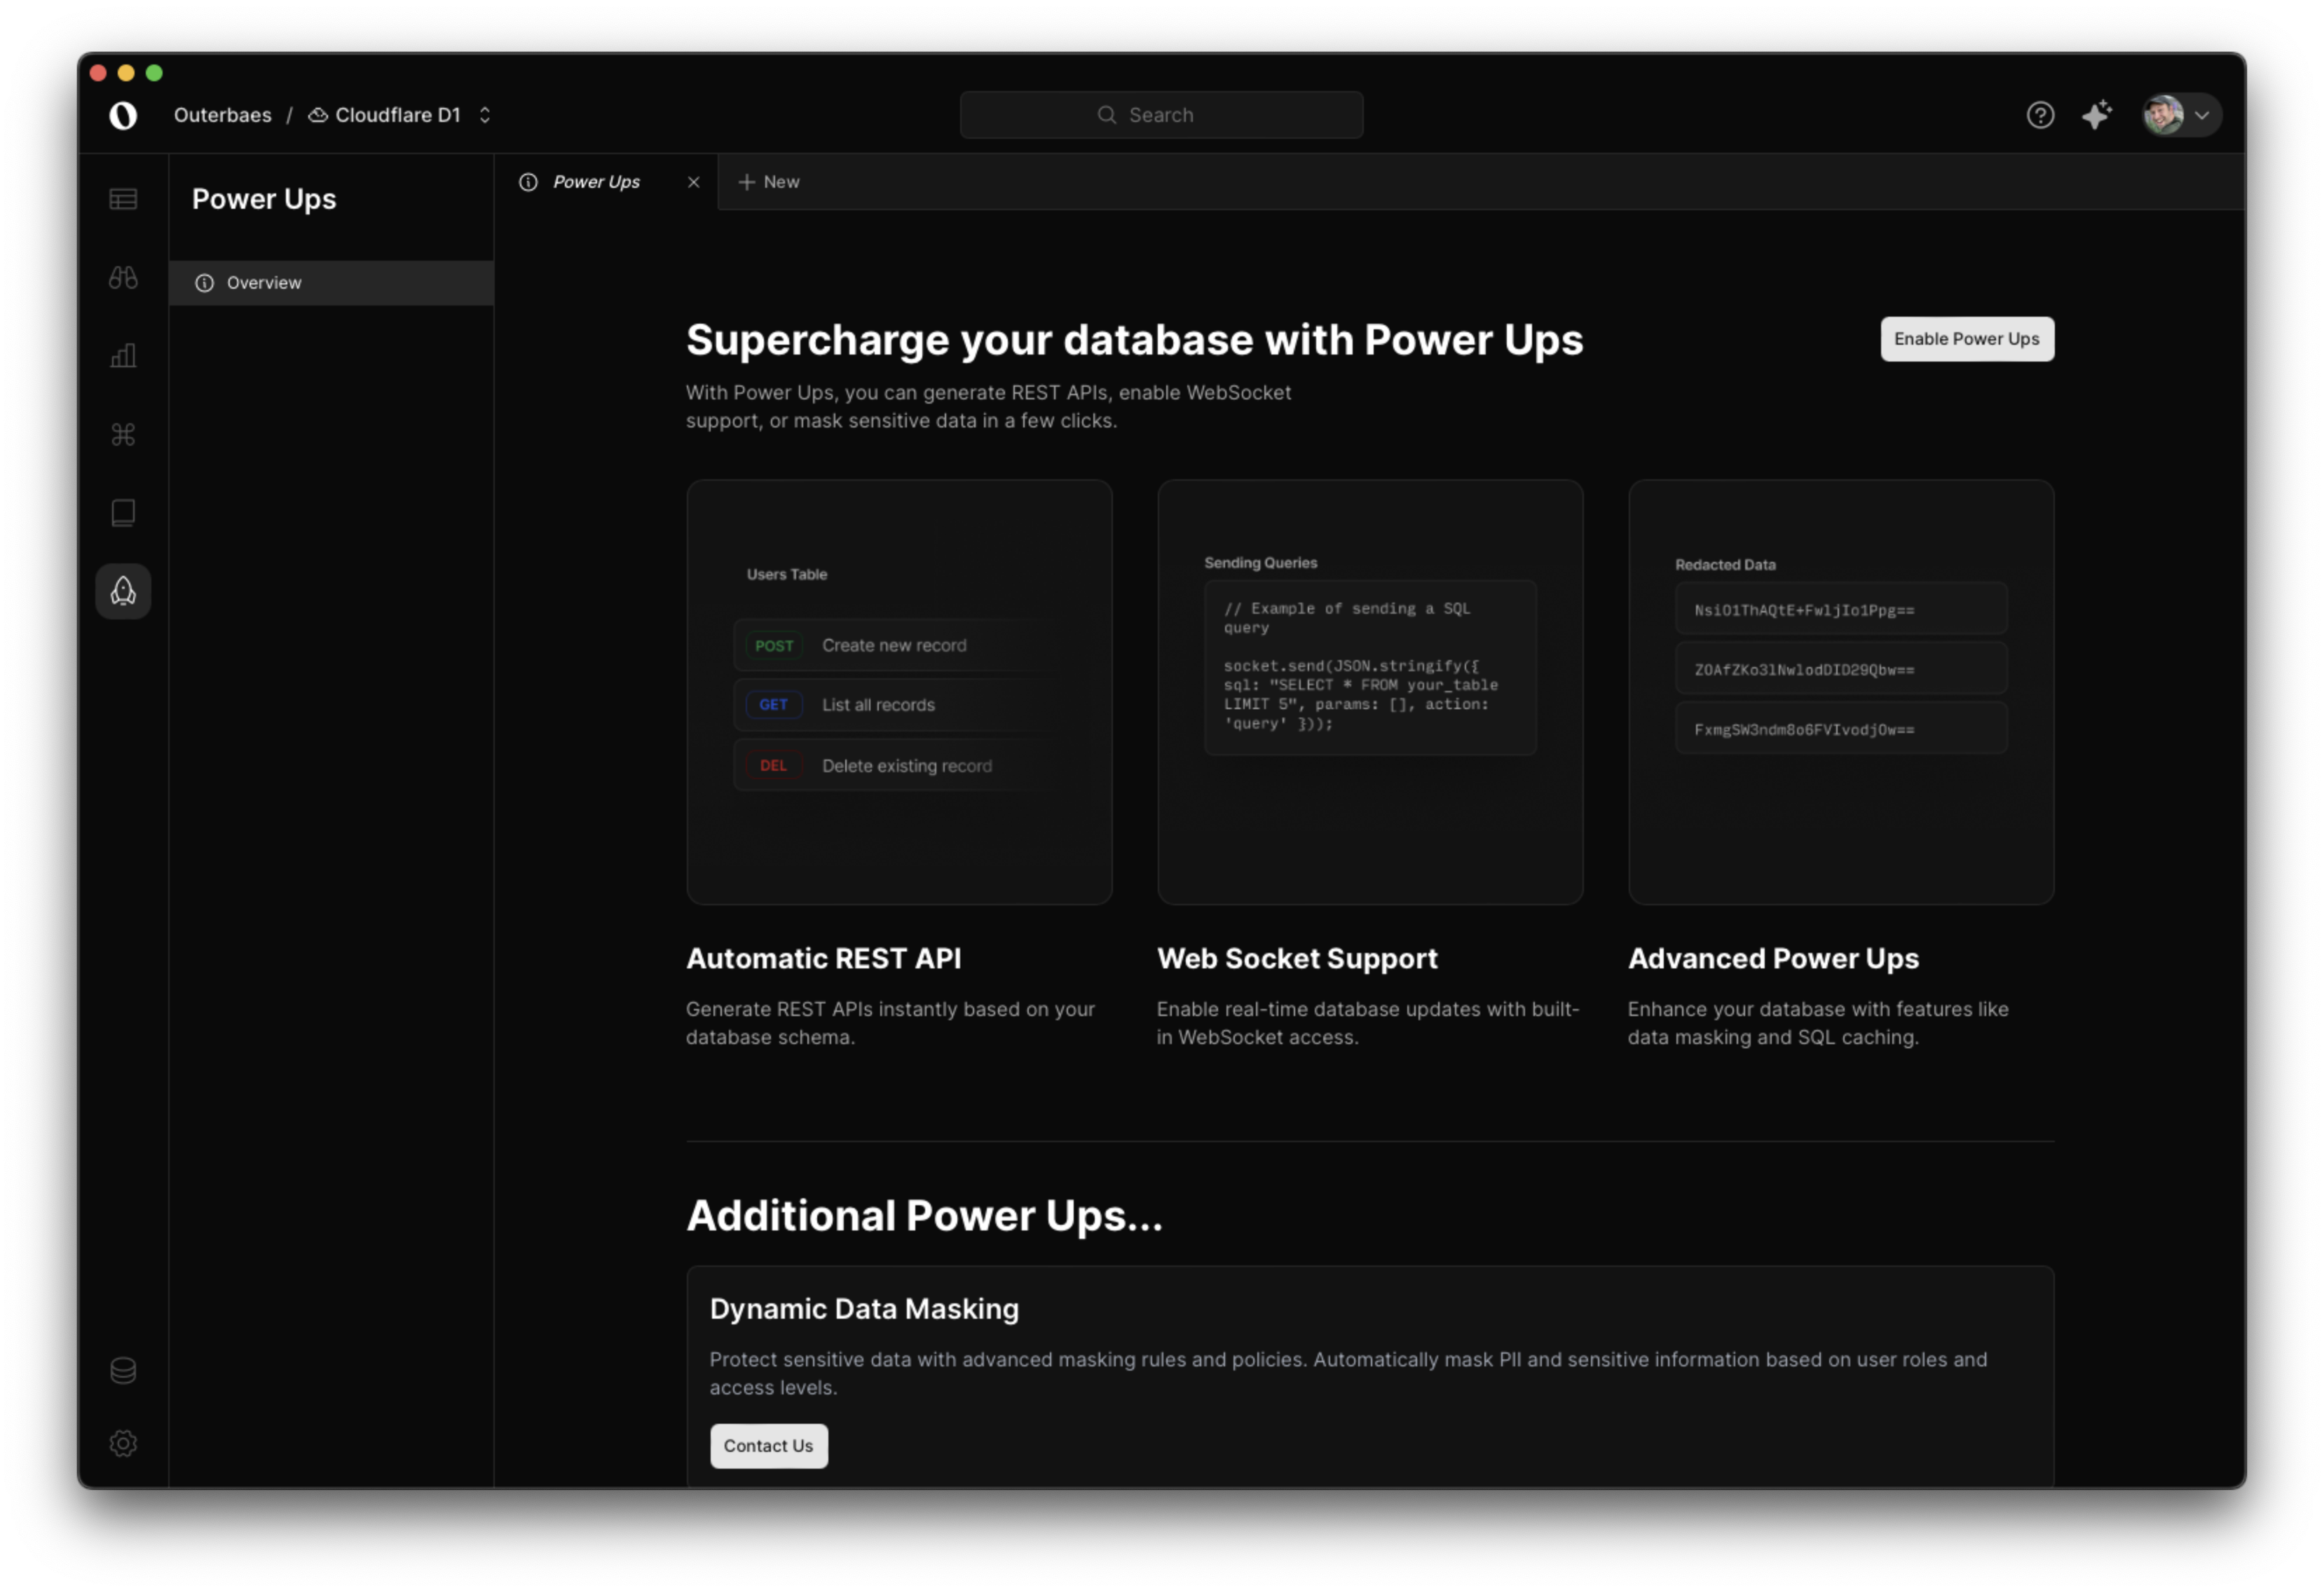
To setup your REST API on your database you will first need to have a database connected to Outerbase. When inside your Base on the left hand side select the “Power Ups” icon and then “Overview” which should land you on the informational page to begin.
At the top right of this page you will see a button labeled “Enable Power Ups”. Clicking that will begin the deployment process that will spin up a new StarbaseDB instance that sits next to your existing database.

Once the deployment has finished you should see two options appear underneath “Overview” on the left sidebar. From there you can select “REST API” and should open a new tab.

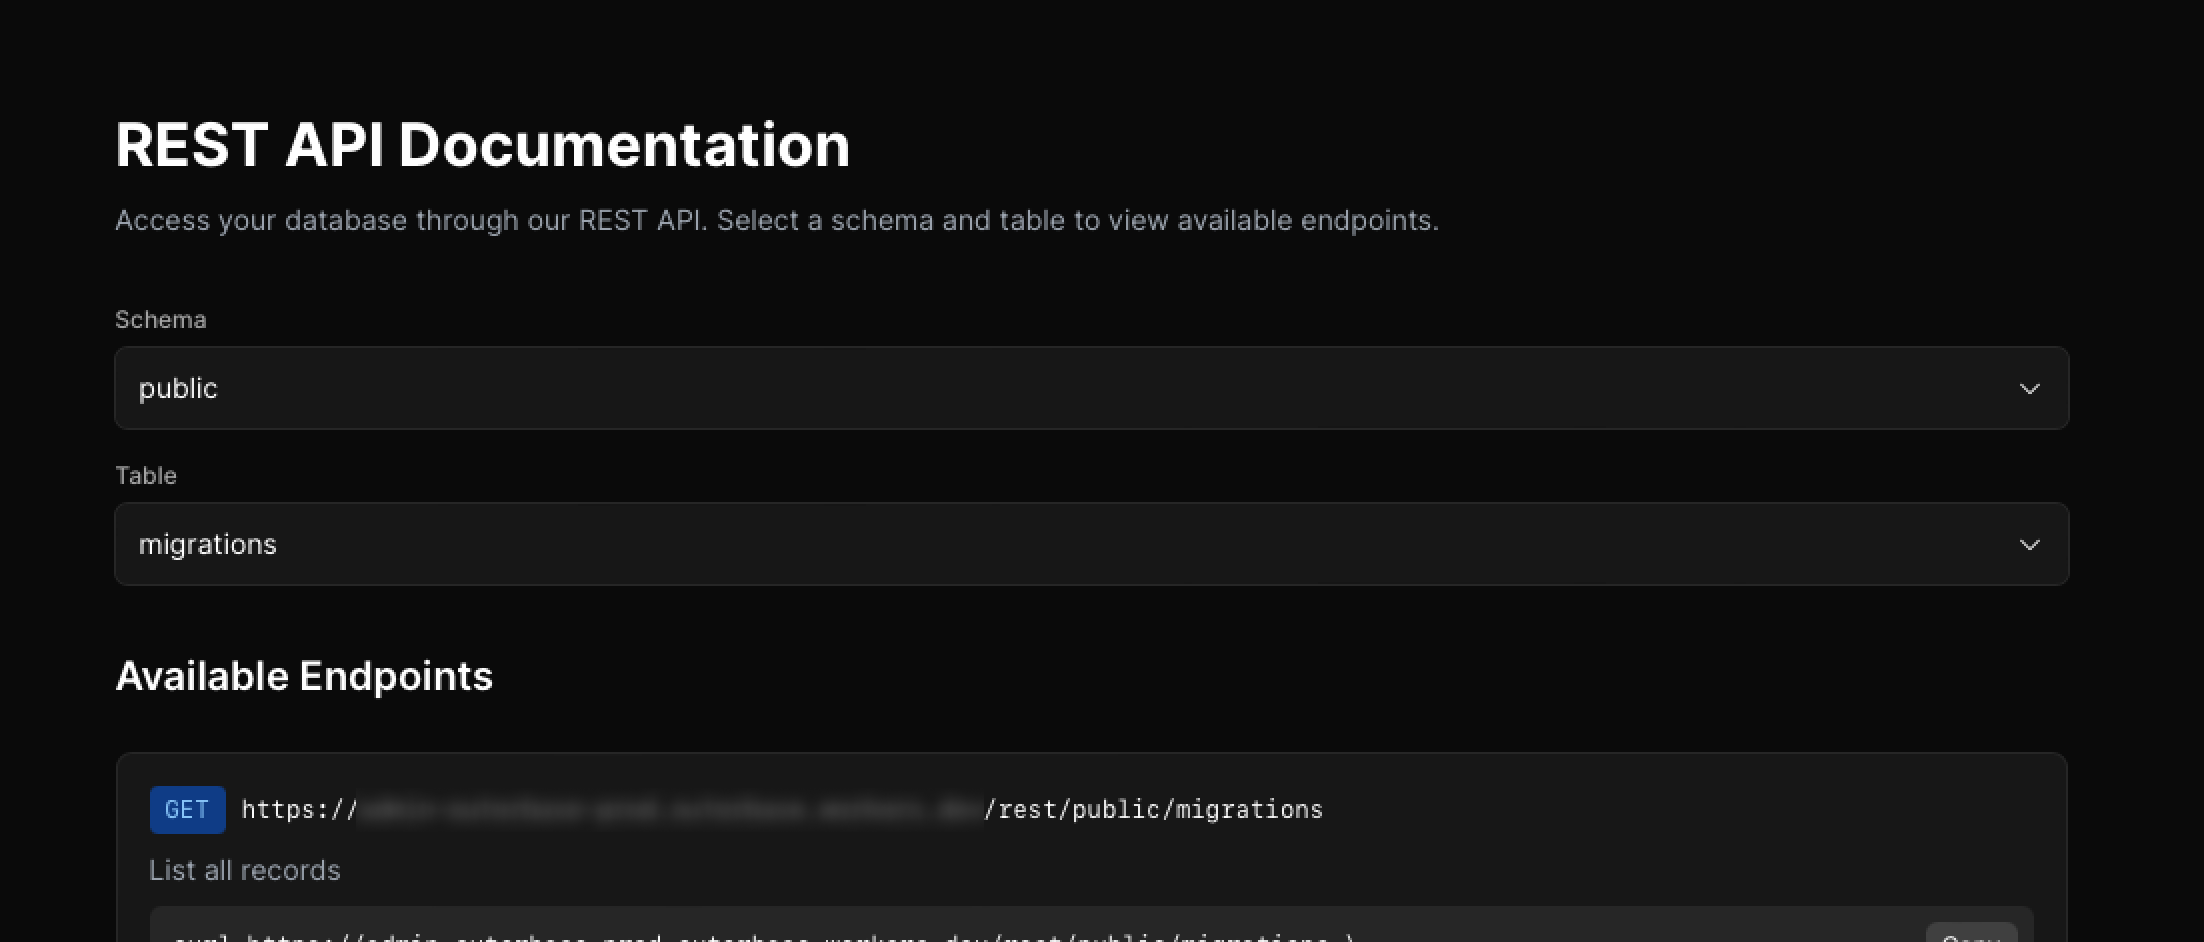
From here you can use the dropdown menus to select which schema and table combination you want, and below will be populated 6 various REST API’s and their corresponding cURL requests to do one of the following actions:
List all records
Get a single record
Create a new record
Partially update a record
Update a record
Delete a record
Filtering Parameters
To fully utilize the REST API to the best of its capabilities you can append any number of the following query parameters to the REST endpoints to filter for the results you might be looking for.
Equals
/rest/{schema}/{table}?name=Alice
Not Equals
/rest/{schema}/{table}?name.ne=Alice
LIKE
/rest/{schema}/{table}?name.like=Al%25
IN
/rest/{schema}/{table}?name.in=Alice,Bob
Greater Than
/rest/{schema}/{table}?user_id.gt=0
Greater Than or Equal
/rest/{schema}/{table}?user_id.gte=1
Less Than
/rest/{schema}/{table}?user_id.lt=3
Less Than or Equal
/rest/{schema}/{table}?user_id.lte=2
SORT BY & ORDER
/rest/{schema}/{table}?sort_by=user_id&order=DESC
LIMIT & OFFSET
/rest/{schema}/{table}?limit=10&offset=10
Web Sockets
Begin querying your database through web sockets just as easily as using the REST endpoints above. We provide the WSS URL to access your database for you and all you have to worry about is integrating it into your project.
Below you can see a sample implementation of how we setup our socket connection, and then a second example on how to use that socket to send a query request to your database. The below code can be used either in a web project in plain HTML/Javascript, React, or a Node backend.
Connection Setup
const socket = new WebSocket('wss://YOUR-IDENTIFIER.outerbase.workers.dev/socket?token=YOUR_TOKEN_HERE');

socket.onopen = function() {
    console.log("WebSocket connection opened");
};

socket.onmessage = function(event) {
    console.log("Received:", event.data);
};

socket.onclose = function(event) {
    console.log("WebSocket closed:", event.code, event.reason);
};

socket.onerror = function(error) {
    console.log("WebSocket error:", error);
};
Sending Queries
// Example of sending a SQL query
socket.send(JSON.stringify({
    sql: "SELECT * FROM your_table LIMIT 5",
    params: [],
    action: 'query'
}));
It’s about as intuitive and simple as you can get. A button click and two copy and paste moments later and you’re querying your database through sockets.
Conclusion
To review, now you can deploy microservices alongside your existing databases to extend their capabilities. We believe in the not so distant future these services will not only continue to add functionality that doesn’t exist for your databases today, but also work on speeding up response times to clients with data caching and lifting some of the burden from database systems as they are used today.
More to come – but tell us what you think!


